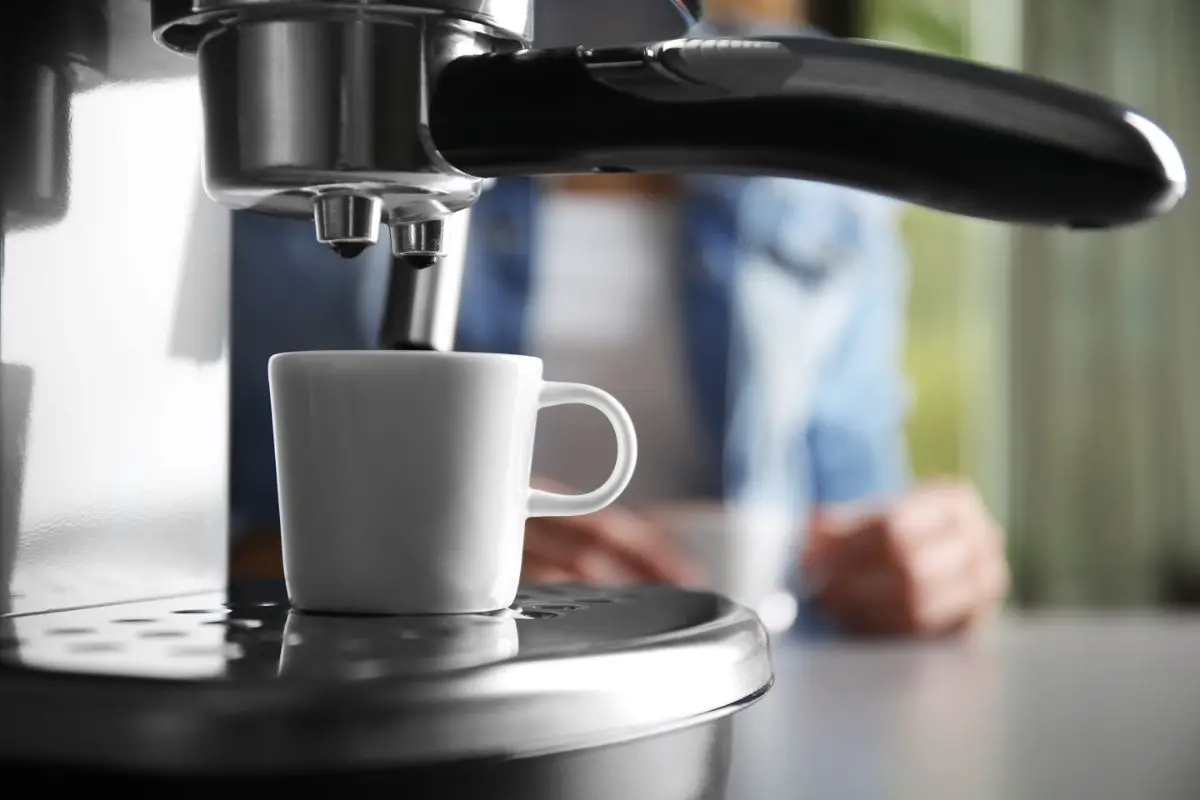
There’s nothing better than a cup of coffee in the morning, especially when it has been brewed in your own coffee maker.
These days, some of the most popular coffee makers are produced by Keurig, which remains a giant in the kitchen appliance market.
And while Keurig products can be used to make delicious coffee, this does not mean that they are easy to clean.
This is because coffee makers are susceptible to limescale, which can become a breeding ground for harmful bacteria.
And while descaling a Keurig may sound easy, this does not mean that it can be done with common cleaning products. In fact, you may need to use less conventional items to clean your coffee maker.
So if you want to know how to descale your coffee maker, then you have come to the right place.
In the following article, we are going to teach you how to descale your Keurig using items that can be found in your home, while also explaining how often your Keurig needs to be cleaned to avoid build-up.
Just take a look below and you will find everything you need to keep your coffee maker looking as good as new…
What You Will Need
Before we can show you how to descale your Keurig, you must first understand the different supplies you will need to get the job done.
In the following section, we have outlined the products you will need and where you can purchase them online:
- Keurig Water Filter Refill Cartridges (buy on amazon.com)
- Heinz White Vinegar (available at the local supermarket)
- Keurig Descaling Solution (buy on walmart.com)
- Keurig 2.0 Needle Cleaning Tool (buy on amazon.com)
Now that you have a better understanding of what you will need, let’s take a look at how often you will need to clean your Keurig to avoid buildup…
How Often Should You Clean Your Keurig?
While descaling your Keurig may sound like a lengthy process, you will only need to clean certain parts of the appliance at different times.
This is because some parts are more susceptible to dirt than others, which means they will need to be cleaned on a regular basis.
In the section below, we have outlined the various parts of your Keurig coffee machine and how often they will need to be cleaned:
- Water Filter Cartridge – every 2 months
- Keurig Needle – when needed
- Mineral Buildup – every 3 – 6 months
- Removable parts – every week
Now that you know often you will need to descale your Keurig, let’s take a look at the actual cleaning process.
How To Clean A Keurig

When it comes to cleaning your Keurig, you will need to wash the removable parts every week, while the water filter will need to be replaced every two months.
As previously mentioned, Keurig needles will only need to be cleaned once they are dirty, as this could impact the flow of water through the machine.
Removable Parts
1. Before you can start cleaning your coffee machine, you will need to switch the appliance off and remove the plug from the wall.
2. Once the coffee machine has been turned off, disassemble it and remove the water reservoir, lid, mug tray, and cup holder.
3. Clean the mug tray and cup holder in warm soapy water, while making sure to wash away any unwanted residue.
4. To clean the water reservoir and lid, you will need to remove the water filter and wipe down the surface with a damp cloth.
5. When you have done this, rinse the reservoir and lid with cold water and allow it to air dry – we do not advise using a cloth as this could leave lint behind which will clog the machine.
6. Take a wet sponge and wipe down the exterior surfaces of the machine to remove unwanted stains and spills.
7. When everything is clean and dry, replace all the removable parts and plug the machine back into the wall.
Water Cartridge
1. To replace the water cartridge on your Keurig, you will need to purchase a new cartridge and soak it in fresh water for 5 minutes.
2. When the 5 minutes is up, you can remove the cartridge from the soak and rinse it under cold water for 60 seconds.
3. While doing this, take the lower filter holder and wash the mesh using warm and soapy water.
4. Take the new water cartridge and insert it into the upper filter holder, make sure it has been inserted correctly before closing the lid.
5. Finally, place the cartridge back into the main reservoir and lock it into the place before using the machine.
Keurig Needles
1. Before you can clean your Keurig needles, you will need to turn off the coffee machine and unplug it from the wall.
2. Once the machine has been turned off, you can use a paperclip to remove any unwanted debris that has formed in the middle of the needles.
3. When the needles are clear, you can rinse them using warm soapy water, which should remove any leftover matter.
4. Once the needles have been cleaned you can wait for them to dry before replacing them in the machine and switching it back on.
How To Descale A Keurig
One of the best things about descaling a Keurig is that you won’t have to do it every month, as it can take a while for water minerals to build up in the machine.
However, this does not mean that the process is easy, as you will need determination and elbow grease to get the job done.
1. To begin the descaling process, you will need to fill the reservoir with 16 ounces of white vinegar or Keurgi’s descaling solution.
2. When you have done this, you will also need to add around 16 ounces of clear water to dilute the acid.
3. Repeat this process until the ‘add water’ indicator is illuminated.
4. Once the acid and water have been added, start a brew cycle without a k-cup and let the machine run as usual – while using a cup to catch the liquid.
5. Allow the coffee machine to rest for 30 minutes.
6. When the machine is finished, empty the reservoir and wash it before filling it to the max line with clean water.
7. Once the reservoir has been filled, perform 12 rising brews using a large cup to catch the liquid – this will help to remove any traces of vinegar or solution.
8. When complete, brew the coffee as normal and enjoy your morning joe!
Final Thoughts
While descaling your Keurig may sound complicated, the task can be completed using the correct tools and determination.
Fortunately, you will only need to descale your Keurig once every 3 – 6 months, although other parts of the machine will need to be cleaned on a regular basis.