To dry herbs, you’ll first need to harvest them at the right time, ideally early in the morning when the essential oils are at their peak. Rinse the herbs to remove any dirt, but avoid soaking the leaves. Choose a drying method that fits your herb type – low-moisture herbs like oregano and rosemary can be air-dried over 10-14 days in a cool, well-ventilated area, while moisture-rich herbs like basil and mint might need faster methods such as microwave or oven drying. Check their dryness by feeling for crisp leaves and non-flexible stems. Finally, store them in airtight containers in a cool, dark place.
Read on for insights into different herb types and their drying methods.
Key Takeaways
- Choose appropriate herbs for air drying, considering their moisture content and your intended use.
- Harvest herbs early in the morning, using clean shears and rinse quickly without saturating leaves.
- Prepare herbs for drying by bundling in small groups and hanging them upside-down in a well-ventilated, dark area.
- Use methods such as air-drying, microwave drying, oven drying, or a food dehydrator, ensuring careful attention to avoid overheating.
- Test the dryness of herbs by checking for crispiness and stem flexibility, and store properly dried herbs in airtight containers in a cool, dark place.
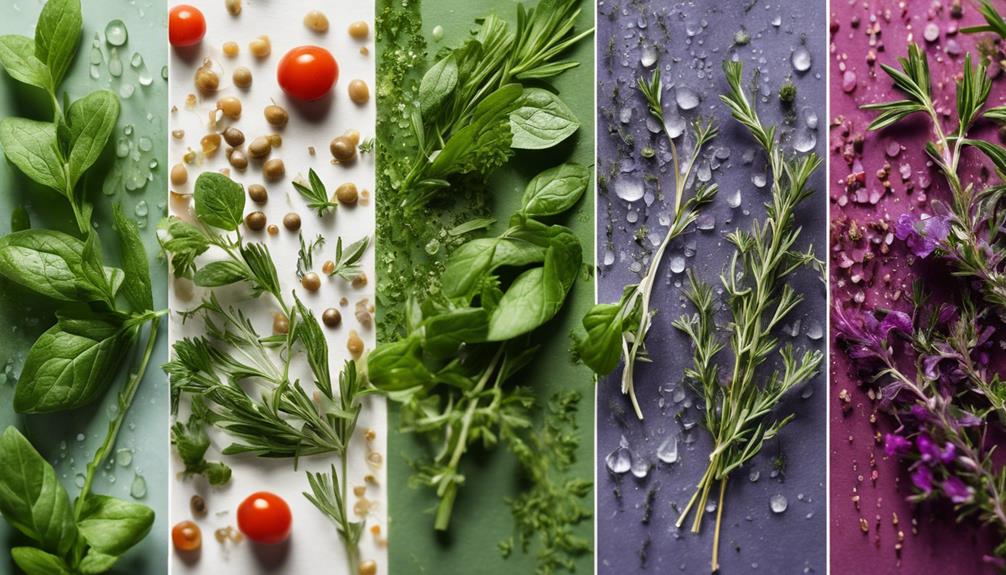
Choosing the Right Herbs
When it comes to drying herbs, your first step should be choosing the right ones based on their moisture content, flavor profile, and your personal culinary preferences.
For air drying, opt for low-moisture herbs like marjoram, oregano, rosemary, and dill. These herbs maintain their flavor profile better when slowly dried in the open air.
On the other hand, herbs with a high moisture content like basil, chives, and mint need quicker drying methods. These herbs are more prone to mold and lose their flavor if air-dried.
Consider your intended use of the herbs when making your choice. If you’re a fan of Italian dishes, for instance, oregano and rosemary are excellent choices. Remember, it’s your kitchen, so pick herbs that fit your taste and recipes.
Harvesting Your Herbs
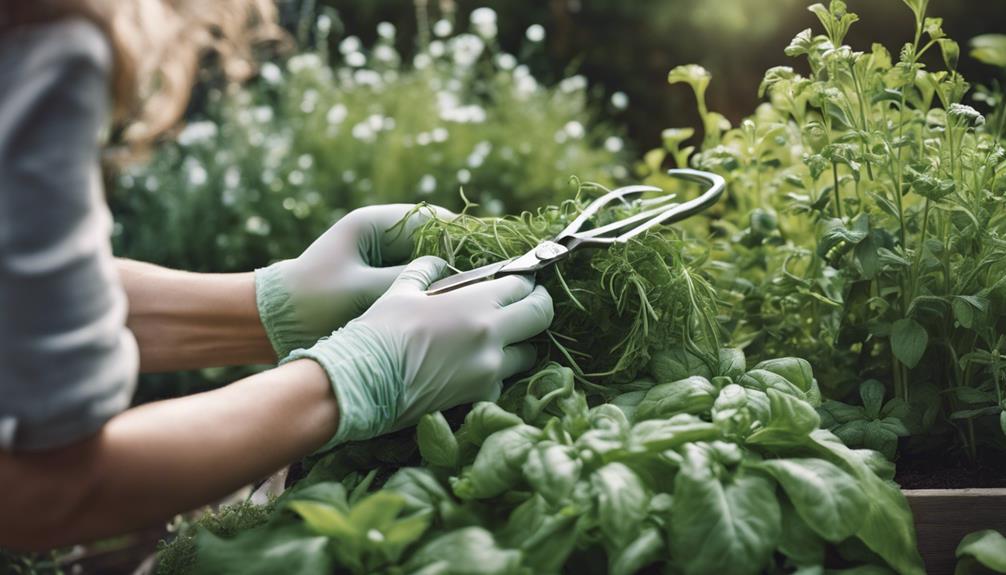
To get the most out of your herbs, you’ll want to harvest them early in the morning when their essential oil concentrations are highest. Use clean shears to cut your fresh herbs above a leaf or pair of leaves. This helps maintain the plant’s vitality and ensures peak flavor.
Rinse the herbs quickly, shake off excess moisture, and lay them on a clean kitchen towel. Good air circulation is essential when drying, so make sure your herbs aren’t crowded.
Remember, timing is key. Harvest your herbs before they flower to capture the best aroma and taste. Drying times vary, so regularly check your herbs. They should feel crunchy, and their stems should crack easily when ready.
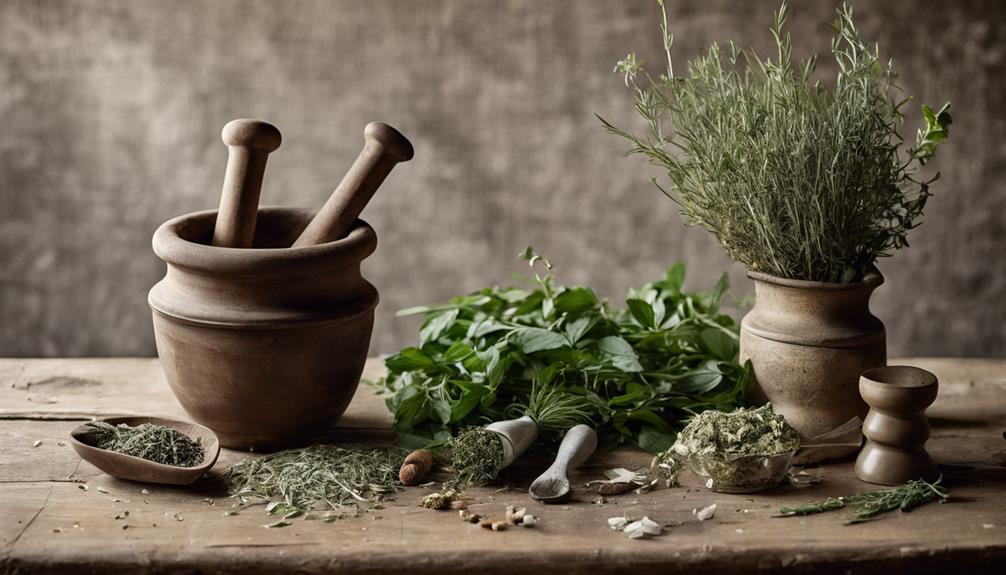
Preparing Herbs for Drying
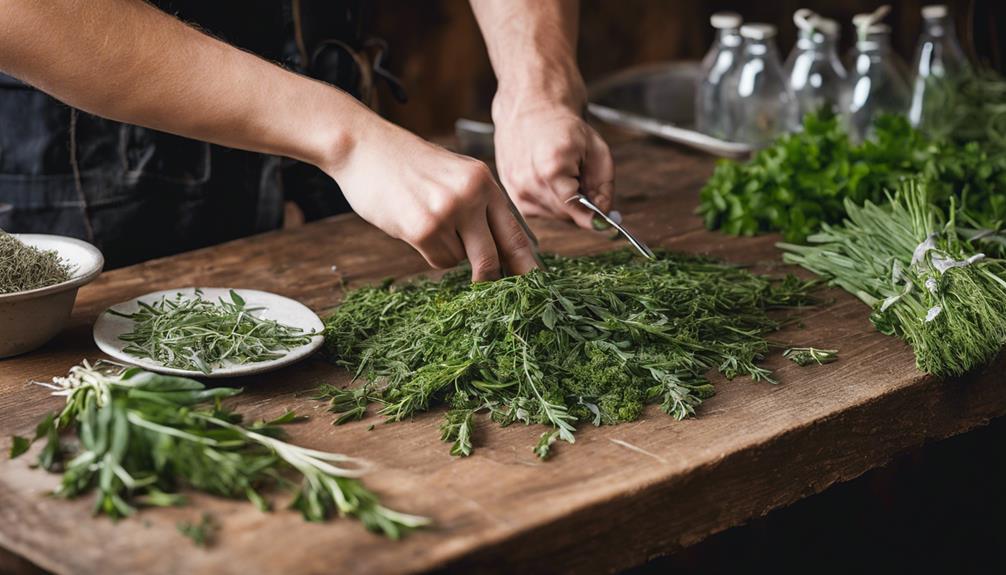
After gathering your herbs, you’ll need to prepare them for drying – a process that’s simpler than you might think. Start by picking your herbs early in the morning, when their essential oils are at their peak.
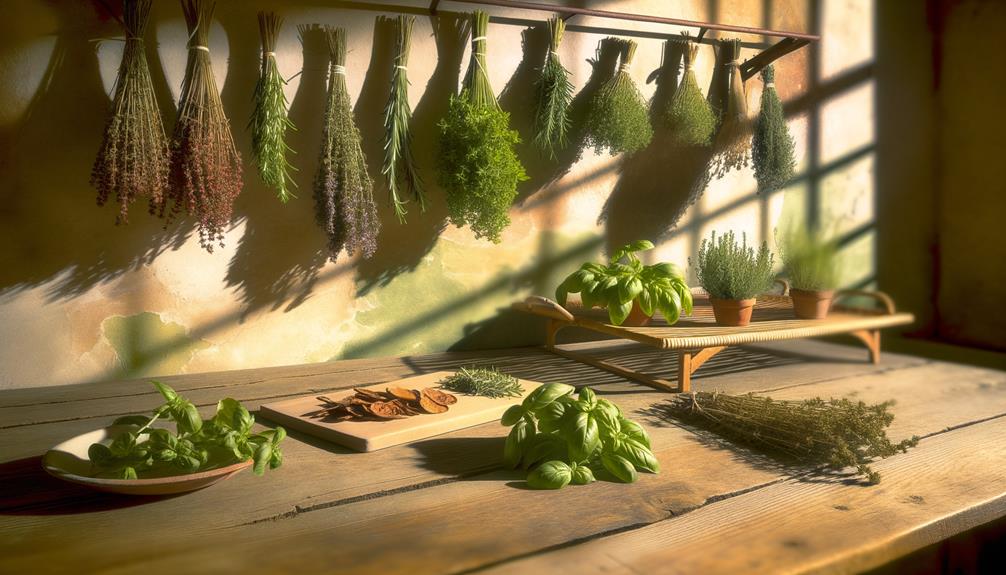
Rinse them quickly to remove any dirt or debris without saturating the leaves. Once clean, bundle the herbs in small groups of 3-4 stems. Tie them together at the base, positioning them upside-down. This allows for better air flow around the leaves during drying.
Find a well-ventilated, dark area to hang your herbs, like a pantry or closet. To make sure your herbs are completely dry, check for crispy leaves that crumble easily.
Storing your dried herbs in airtight containers in a cool, dark place will preserve their flavor and freshness.
Methods of Drying Herbs
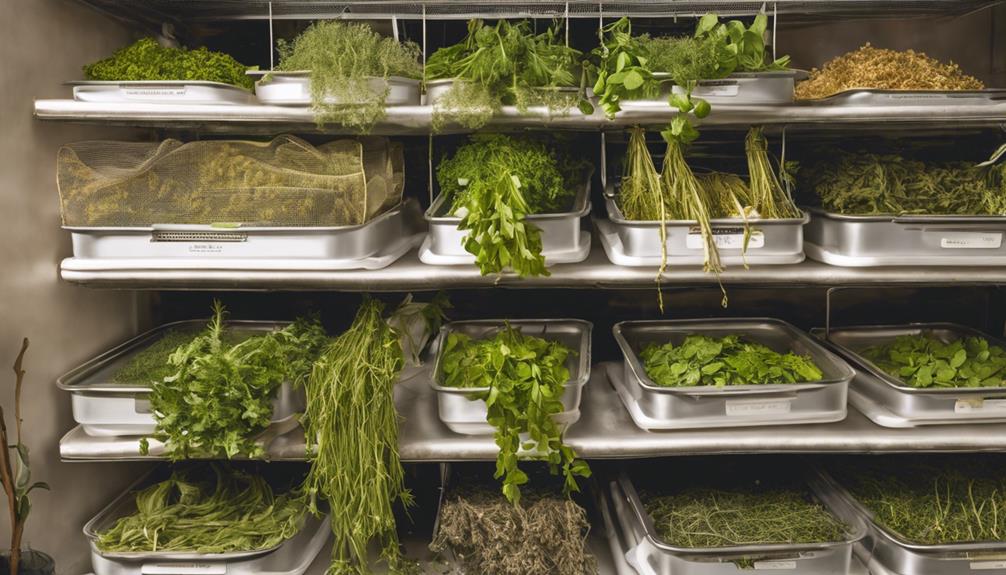
You’ll find that air-drying, microwave drying, oven drying, and using a dehydrator each offer unique benefits and drawbacks.
Air-drying herbs is traditional and easy, but takes the longest time. You’ll need a cool, well-ventilated area, and patience as it can take 10-14 days.
If you’re in a hurry, consider microwave drying. It’s quick, perfect for herbs like parsley and basil, but overdoing it can cook the herbs instead.
Oven drying is another quick method, but watch the temperature to avoid overheating.
Finally, a food dehydrator is particularly useful for herb drying, providing even and consistent results within a few hours.
- Air-drying: 10-14 days
- Microwave drying: few minutes
- Oven drying: 2 hours
- Food dehydrator: 1-3 hours
Note: Humidity affects drying times.
Testing Herb Dryness
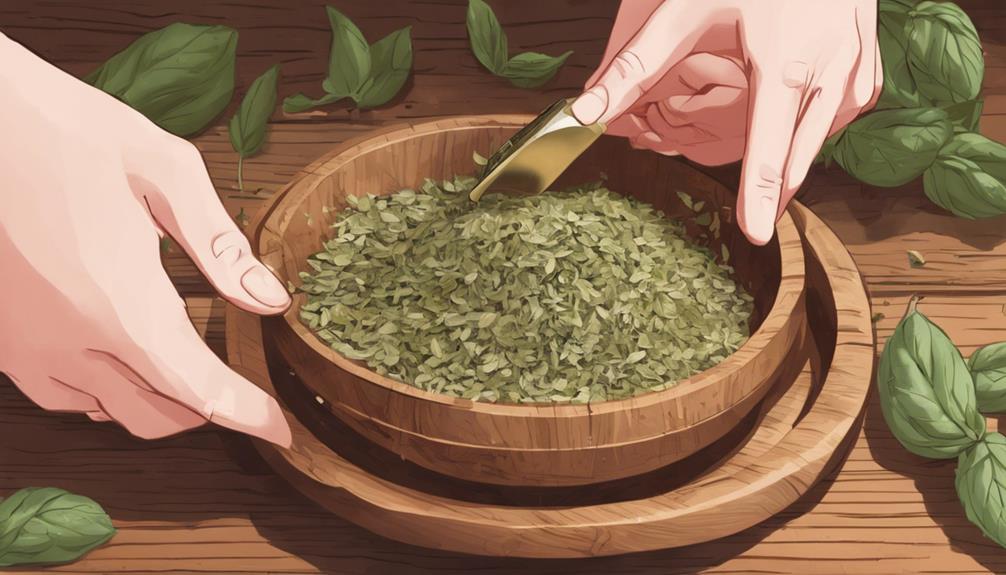
Once you’ve chosen your preferred drying method and patiently waited for the herbs to dry, you’ll need to test the dryness of the herbs to confirm they’re ready for storage. Begin by picking a few leaves off the stems. Squeeze them between your fingers and feel for crispiness. If they crumble easily, they’re dry enough.
Next, check the stem flexibility. If the stems are still flexible, they contain some moisture, indicating the herbs aren’t thoroughly dry yet. Use paper towels to pat dry any noticeable dampness.
Regularly evaluate herb dryness to maintain peak flavor and aroma. Remember, the key is to make sure that the herbs are completely dry. Properly dried herbs should feel crunchy and break easily when bent. That’s your green light for storage.
Storing Your Dried Herbs
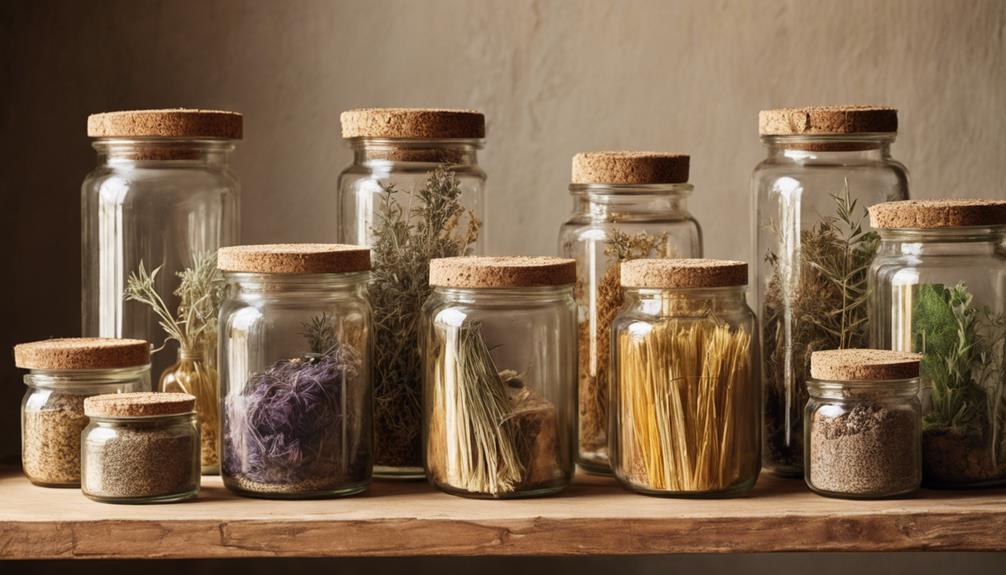
When it comes to storing your dried herbs, selecting the right containers and location can make a significant difference in maintaining their freshness and potency. Store dried herbs in airtight containers to guarantee air and moisture are kept out. The airtight containers should be stored in a cool, dark place such as a cupboard or pantry away from sunlight and heat.
Here are some tips to effectively store your dry herbs:
- Use airtight containers to store dried herbs.
- Choose a cool, dark place for storage.
- Label each container with the herb name and date of storage.
- Choose smaller containers for easy access.
- Amber-colored jars protect herbs from light exposure, preserving their quality.
Following these guidelines ensures your herbs retain their flavor and aroma longer.
Substituting Dried for Fresh Herbs
You might find it helpful to know that dried herbs pack a more concentrated punch than their fresh counterparts, so you’ll need to adjust the quantities when substituting in recipes. Consider the flavor potency and use a substitution ratio of one-third.
For instance, if a recipe calls for three tablespoons of fresh basil, you’d only need one tablespoon of the dried equivalent. Remember, dried herbs are suitable for long cooking times, as they release their flavors slowly. Fresh herbs, on the other hand, are best added towards the end of cooking.
Finally, don’t forget storage tips. Keep your dried herbs in airtight containers away from sunlight to maintain their potency and flavor.
Dried Vs Fresh: a Comparison
While it’s true that dried herbs have an intense flavor compared to their fresh counterparts, there are significant differences and benefits worth considering for both.
You see:
- Drying herbs concentrates their flavor and aroma, giving your dishes a robust boost.
- Fresh herbs, although vibrant, have a shorter shelf life due to their high moisture content.
- Various drying methods remove water from herbs, enhancing their taste and longevity.
- Dried herbs offer versatility and convenience, perfect for teas, infusions or adding a spice kick to your meals.
- While fresh herbs are great for immediate use, dried herbs are your go-to for long-term storage and culinary exploration.
Conclusion
And there you have it! You’ve mastered the art of drying herbs, preserving their vibrant flavors and fragrances. Remember, pick at peak freshness, dry in a cool dark place, and store in labeled, amber jars.
Now, your favorite herbs are ready to enhance your dishes or brew into teas all year round. Just remember, when substituting dried for fresh, the flavor is more concentrated.
Happy herb drying and enjoy a taste of summer, even in winter!