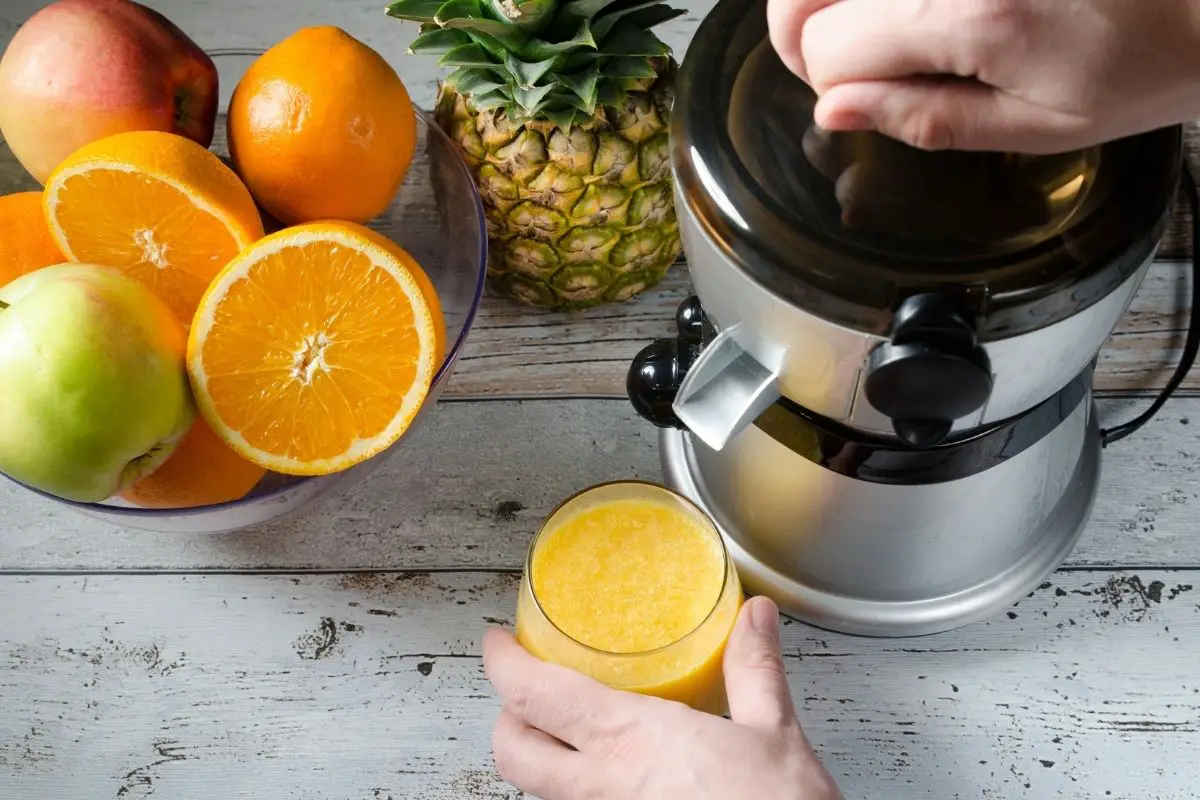
When it comes to making fresh fruit juice, juicers are revolutionary and can make a huge difference in terms of the flavor and freshness of your fruit juice.
However, they can get really dirty with regard to residue and debris from the fruits that have been used inside.

Many of us wonder how we can clean our juicers to ensure that we keep enjoying delicious juice? We get out all our cleaning products, the best cloths and use our elbow grease, but still, the juicer is dirty.
It’s become so difficult to clean juicers that it’s even put people off buying them!
But not anymore! Today we are here with a complete guide to help you clean your juicer. Keep reading to find out how to transform your juicer and enjoy fresh fruit juice without the stress of being lost in the cleaning process.
Brief Overview
This task shouldn’t take you too long and should only take you anywhere between 5 minutes and half an hour depending on your skill level and adaptability to new tasks.
However, the overall cleaning time might take you over an hour due to letting chemicals settle and sink into surfaces.
Different Types Of Juicers
When it comes to juicers, there are three common types that you’re likely to have come across. The first type is the centrifugal force, which shreds fruits and vegetables by spinning blades inside of a container.
This is the fastest type of juicer and can require extra caution when cleaning due to the sharp blades within the machine.
The second type of juicer that you’re likely to have seen is the masticating or cold press. This form of juicer uses a single spiral auger to almost chew the fruit and vegetables inserted until they produce a rich and fresh juice.
The juice ends up in one container, whereas the pulp ends up in a separate one, which is useful for those who don’t like bits in their juice.
This type of juicer is a lot slower than the first type we mentioned and will extract more juice in its process.
The third and final type of juicer on our list is the triturating juicer. This type is frequently seen in professional juice shops and cafes because it produces the largest yield from the amount of fruit or vegetables that are used in the process.
These tend to be the largest on our list because of the components they possess. The fresh food will end up as a dry pulp when the process is complete, leaving no stone unturned when it comes to getting juice.
Clean Your Juicer Often
We all know how sticky fruit juice can get, which is why you must clean your juicer after every use. If you wait to clean your appliance at a later date, the fruit juice residue will be a lot harder to get off and will cause more problems later down the line.
Although it seems like you’re cleaning more because of the number of cleans, you’re saving yourself more work by cleaning the juicer when the residue is fresher and less settled. In this case, quantity is just as important as quality!
However, you might be cleaning your juicer daily or every other day, depending on how many times you use the appliance – this doesn’t mean you avoid deep cleaning. It’s always useful to clean your juicer in more depth at least once a week.
This ensures that all of the areas you may have missed in the smaller cleans will be covered in the end.
What You’ll Need
So what do you need to clean your juicer? Well, grab the following from our list below to get cleaning.
- a soft sponge
- a brush with soft bristles
- a toothbrush
- a spatula
- a microfiber cloth
- a dishwasher
- dishwashing liquid
- dishwasher detergent
- baking soda
- distilled white vinegar.
Cleaning Your Juicer

Once you’ve got your cleaning tools and chemicals, it’s time to clean the juicer. Follow our steps below to get your juicer clean and shiny again!
Remember, it’s always worth checking the user manual of your juicer to see if there are any tips and to follow the specifications set out by the manufacturer.
Step One – Turn The Power Off
Before starting the cleaning process you’ll need to make sure that the juicer is off at the wall and on the appliance. This ensures that electricity won’t get in the way.
Step Two – Break It Down
Start to disassemble the juicer and remove the pulp collection containers. You need cleaning access to the grinding mechanisms, the juice strainers, the lid, and the plunger.
Step Three – Empty The Container
Using your spatula, scrape the inside of the pulp container. You can either keep this pulp for later use or you can throw it away.
We recommend recycling!
Step Four – Rinse The Components
Fill a sink or a bucket of some sort with hot water and add some of that washing-up liquid. Leave the components in your sink and leave them to soak for a few minutes.
Grab your non-abrasive sponge and start to wash these containers.
Now, using the toothbrush or soft sponge, clean the strainer and the grinding components.
Once cleaned, rinse these features with hot water and leave to air dry. However, you can also dry with the microfiber cloth.
This takes more effort but will reduce the chances of water spots.
Make sure you give these parts a quick rinse after cleaning to ensure that all of the pulp residues have been removed.
Step Five – Base Clean
Make your non-abrasive sponge damp with water and start to wash over the base of the juicer. Remember, it’s important not to submerge the base fully in water because you’ll destroy the mechanisms and components.
Then dry with the microfiber cloth.
Step Six – Reassemble Your Juicer
Double-check to make sure you haven’t missed any areas and your job is done! Just simply put your appliance back together and it’s good to go for some more beverages.
Final Thoughts
The cleaning process for a juicer can be a tough one if you don’t clean frequently. Make sure that you’re cleaning at least once after every use.
Once a day is also a good rate of frequency but we know how life can get in the way.
By adding a deeper clean, with more attention shown to the components, you ensure that the inner features of the juicer run smoothly like a whistle, despite all of the juice being pumped through it. Remember, your juicer will only work to its best if it’s clean.
So turn on some music, get out the cleaning supplies and give it a go!