If you’re reading this article, there’s a good chance you’ve just been given a coffee percolator as a gift from a loved one but you have no idea how to use it!
Even if you’re just a coffee nerd and want to learn more about the different ways to make a delicious cup of Joe, we’ve got you covered.
In this guide, we’ll be going over everything you need to know about percolating coffee and how to use the confusing contraption known as a percolator.
By the time you’ve read through this page, you’ll be making the best coffee drinks that you and your friends have ever tasted!
What Does Percolate Even Mean?
A good place for this guide to start is probably looking at what exactly the word ‘percolate’ actually means and why it’s important for coffee drinks.
The word ‘percolation’ comes from the French word “péroulage” which means “to filter out” or “to sift out.”
Essentially, when you put hot water in a pot, some of the particles will sink down into the bottom of the pot while other particles will rise up to the top.
This is called “percolation” because the particles are filtering out of the liquid.
So, why is it important for coffee drinks?
When you percolate your coffee, you’re basically using cleaner water than if you use an immersion method to brew it.
This ultimately makes the drink taste smoother but somewhat less concentrated.
Some people prefer the concentrated ‘dirty’ taste of coffee brewed through other methods but we can pretty much guarantee you’ll find the flavor of percolated coffee at least interesting if you’ve never tried it before.
How Does A Coffee Percolator Work?
A percolator uses pressure and gravity to brew the coffee multiple times for a single portion.
The lower chamber of your percolator houses the water, which is heated and forced through a tube up to the top chamber.
This upper chamber is where the coffee grounds are stored.
Once the water rises to the upper chamber, it drips down over the coffee, ‘perking’ them and filtering back down into the lower chamber again.
This process goes on for a few minutes and the water becomes more and more flavored by the coffee, resulting in a deliciously brewed drink.
The longer you leave the percolator to carry out this process, the more strongly brewed the coffee will be, so it can be fun to experiment with different strengths and flavors.
Step-By-Step Guide For Using A Percolator

Now, let’s go over exactly how to brew a cup of coffee using a percolator.
1. Prepare your percolator – You should always start with a completely clean and dry percolator so make sure there’s no residue left over from the last coffee you made with it.
2. Prepare your grounds – If you’re grinding the coffee grounds yourself, try to aim for a medium-coarse consistency or something similar to what you would use for an espresso shot.
Even if you’re using pre-ground coffee, measure out roughly 2 tablespoons or around 0.7 oz.
3. Boil some water – The next thing you want to do is boil some water in a kettle. Once boiled, pour it into the base of your percolator.
4. Pour your grounds into the filter basket – Fill up the basket with all the coffee grounds you’ve just made and measured out.
Tap the side of the basket gently to evenly distribute the grounds throughout.
If you have a small needle to hand, running this through the coffee like a comb can also help to distribute it evenly.
5. Screw the top onto the base – As simple as it sounds, screw the two parts of your percolator together but be careful because the bottom will be hot, so use a kitchen cloth or oven mitts if necessary.
6. Add the percolator to a heat source – If you’re using a gas stove, set the burner to medium heat.
Most percolators won’t work on induction stoves and if you’re using an electric percolator, simply follow the instructions provided with it.
7. Be patient – Now it’s time to wait. The percolator will use pressure to force the water through a tight tube to slowly perk the coffee grounds so you’ll know it’s working when you can hear it spluttering away.
If the coffee starts to overflow, simply turn the heat down. After around 7-10 minutes, it should be done.
8. Throw away the grounds – Once the coffee is brewed and you’ve removed it from the heat, the first thing to do is discard the used grounds but be careful because they’ll still be hot.
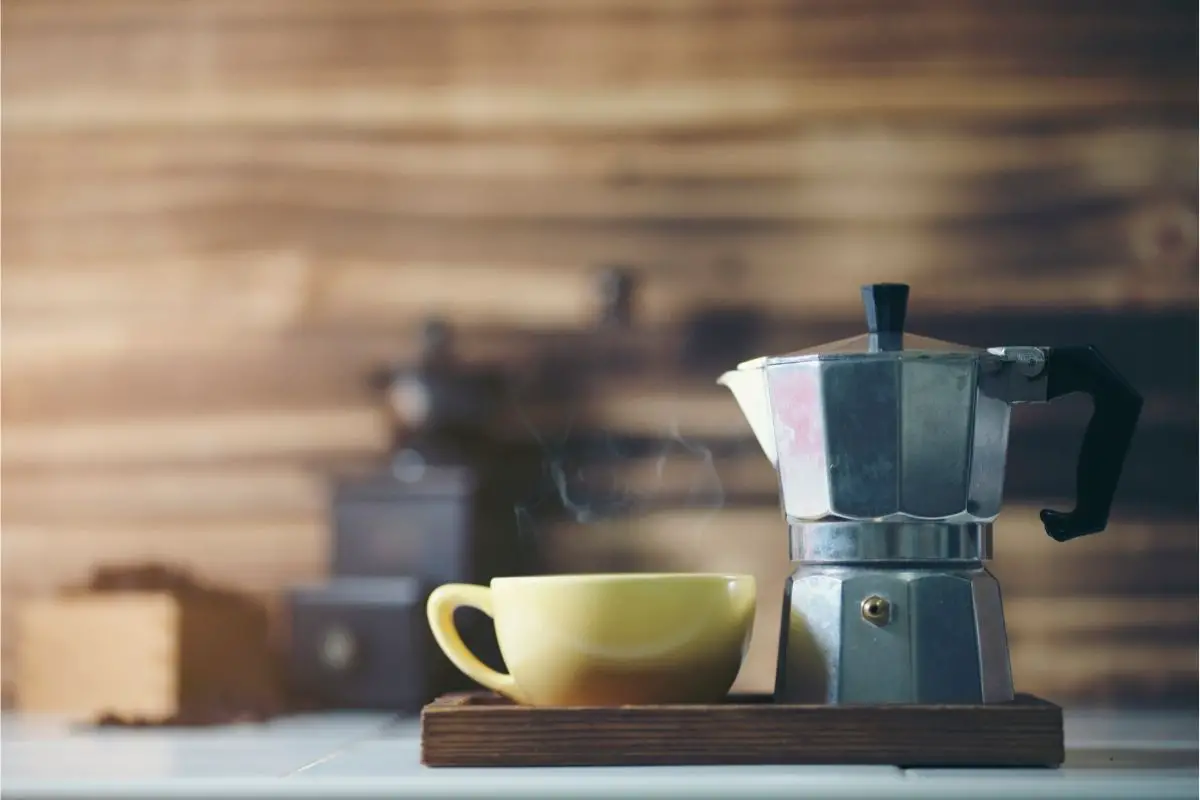
9. Serve – Finally, pour your freshly brewed coffee into a cup, ready to drink.
The coffee will likely be too hot to drink straight away but after a couple of minutes, you can go right ahead.
How Can You Adjust The Flavor Of Coffee Using A Percolator?
There are two main methods for adjusting how strong you want your eventual coffee drink to come out when using a percolator.
The first is to adjust the coffee grounds that you add to the device.
Grinding the coffee into slightly finer grounds than normal will result in a slightly stronger coffee drink though it’s important not to over-grind them.
A much better way to control the strength of the drink is to use a larger or smaller quantity of coffee itself.
A smaller quantity means a weaker drink and a larger quantity results in a stronger brew.
The other, much easier method is adjusting the amount of time you leave the percolator on the stove for.
The span of 7-10 minutes is a rough guide for how long it should take but you can choose to take the percolator off of the heat at any point within that window.
Leaving it for longer will give you a stronger coffee drink and taking it off after only 7 minutes will result in a weaker eventual brew.
Final Thoughts
Hopefully, you now have a much clearer understanding of exactly how a coffee percolator works and how to use one.
If you’re a coffee fanatic like most of us and you’re thinking about taking your brewing game to the next level, a percolator is a great place to start.
It’s a fun way to experiment with different flavors, intensities, and coffee bean sources.
After a couple of weeks of using a percolator, you’ll be an expert in all things coffee!