If you’re passionate about gardening, there’s a good chance you’ve experienced the joy of saving seeds. Seed saving is a fulfilling hobby that not only benefits the environment but also promotes biodiversity in your garden. By learning the basic principles of seed saving, you can reap the benefits of growing plants adapted to your region, sharing seeds with others, and saving money. In this article, we’ll delve into the benefits of seed saving, the types of seeds suitable for saving, harvesting tips, and how to store seeds properly.
Table of Contents
ToggleThe Benefits of Seed Saving
Seed saving allows you to cultivate plants that are adapted to your region, which improves their chances of thriving in your garden. By saving seeds from year to year, you’ll have access to your favorite seeds indefinitely. Additionally, seed saving can help you save money, as you won’t have to purchase new seeds every season. Moreover, sharing seeds with fellow gardeners or donating them to local seed libraries can foster a sense of community and promote biodiversity.
Understanding Seed Types
It’s essential to know the types of seeds suitable for saving to ensure success in your garden. Self-pollinating plants, such as beans, peas, and tomatoes, are ideal for first-time seed savers. These plants typically pollinate themselves without help from insects or other plants.
Open-pollinated plants, like pumpkins, squash, cucumbers, and corn, can cross-pollinate, meaning the seeds from one variety may be affected by pollen from a neighboring plant. Avoid saving seeds from open-pollinated plants grown close to other varieties, as they may have cross-pollinated and will not produce true-to-type offspring.
Heirloom seeds, which have been passed down for generations, are also great for saving, as they often produce stable and predictable results. However, it’s important to avoid saving seeds from hybrid plants (often designated with an F1 distinction), as they may not produce offspring that are true to type.
Harvesting Seeds
Timing is crucial when harvesting seeds. Be patient and allow seeds to fully develop on the plant before collecting them. The best time to eat the fruit may not necessarily be the best time to save the seed.
Here are some tips for harvesting seeds from various plants:
- Beans and peas: Harvest when pods turn brown on the vine and shrink against the seeds.
- Radishes, lettuces, and greens: Harvest seed pods when they’ve turned brown on the plant.
- Pepper seeds: Harvest when peppers have reached their full color.
- Cucumber seeds: Harvest when the cucumber is overripe and yellow.
- Artichoke seeds: Harvest after the flower fully develops and a fuzz forms on the artichoke.
- Tomato seeds: Harvest when the tomato is fully colored and slightly soft to the touch.
- Asparagus seeds: Harvest when red berries holding the seeds begin to shrivel and the seeds inside turn black.
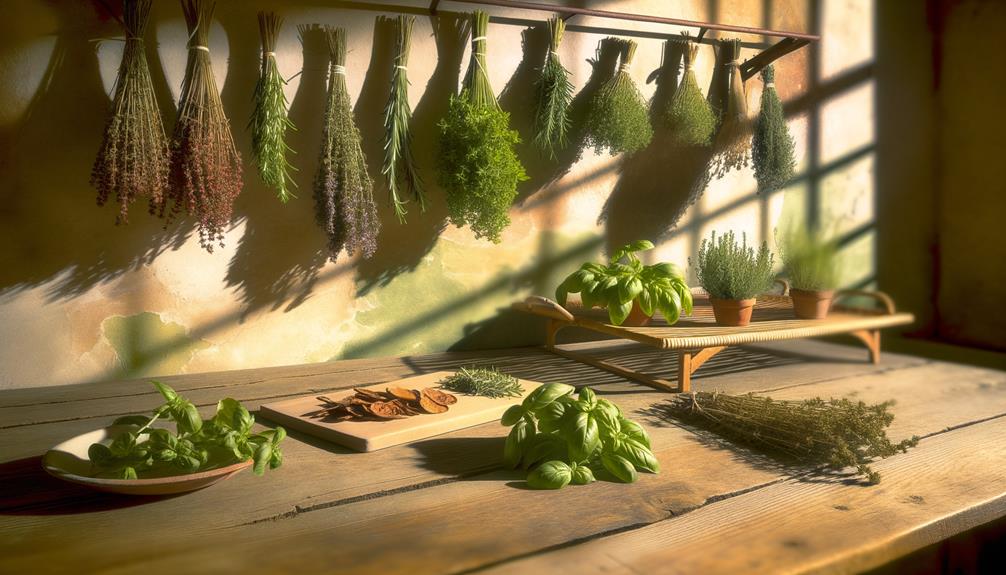
- Herb seeds (e.g., dill, basil, and cilantro): Harvest when brown and dry, cut off with a length of stem, and allow to dry in a paper sack.
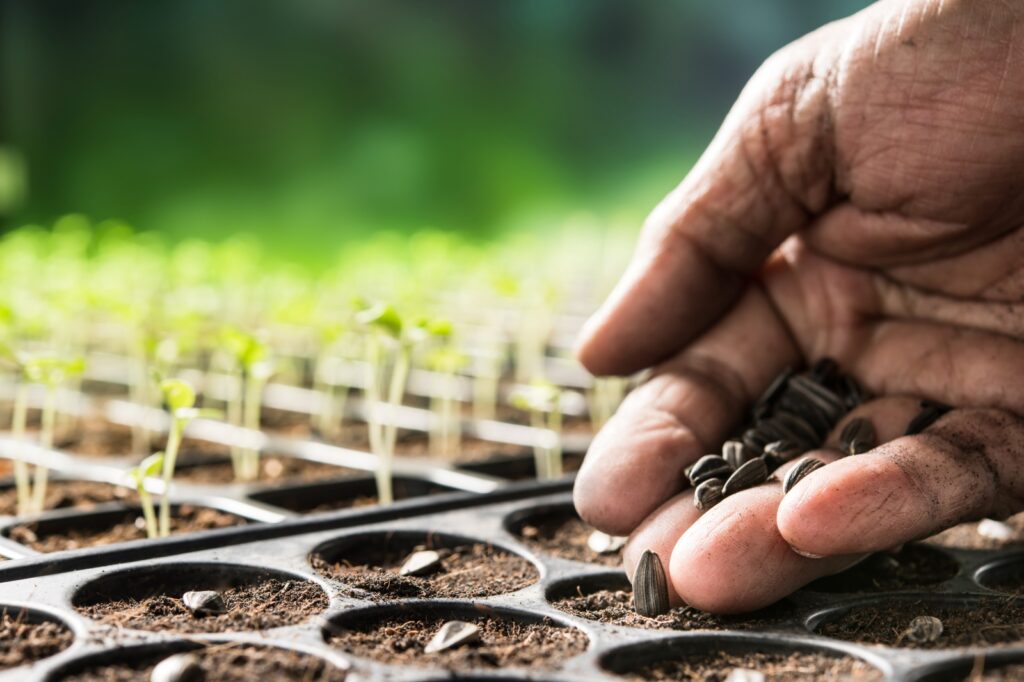
- Sunflower seeds: Harvest when petals have fallen off, cut the sunflower leaving a few inches of stem, and let it dry with seeds facing up.
- Wildflower seeds: Learn to recognize what the seeds look like and leave a few blooms on the plants at the end of the season.
Storing Seeds
Once seeds are thoroughly dry, store them in paper envelopes for short-term storage or in airtight containers for long-term storage. Label the seeds with the type and year they were harvested. Store seeds in a cool, dark place for the longest storage life. For even longer storage, you can keep seeds in the freezer.
Wet seeds, such as those from tomatoes and cucumbers, often need to be fermented to remove the pulp and germination-inhibiting substances on the seed’s surface. During fermentation, viable seeds will sink to the bottom, while the pulp and unviable seeds will float. After the coating is removed, spread the viable seeds out on paper plates or wax paper to dry completely before storing them.
Dry seeds, on the other hand, can be stored simply by placing them in a paper sack and allowing them to dry completely. This method prevents moisture from getting trapped inside the bag, reducing the risk of mold and mildew.
Final Thoughts on Seed Saving
Seed saving is an enriching gardening activity that helps you cultivate plants adapted to your region, save money, and foster a sense of community by sharing seeds with others. By understanding the types of seeds suitable for saving, knowing when and how to harvest them, and storing them properly, you’ll set yourself up for success in your garden.
Embrace the art of seed saving and experience the joy of watching your garden flourish with plants that are uniquely adapted to your environment. And don’t forget to share your seeds with friends, family, and fellow gardeners to spread the love of gardening and promote biodiversity.
If you have any additional seed saving tips, feel free to share them in the comments below. We’re always eager to learn more about this fascinating aspect of gardening. Happy seed saving, and thank you for reading!